Software tools & Python recap
- Key technologies
- The user mindset versus the programmer mindset
- Open source software
- Working across different platforms
- Files and folders
- Public-key Cryptography
- git & git forges
- AUC's Forgejo server
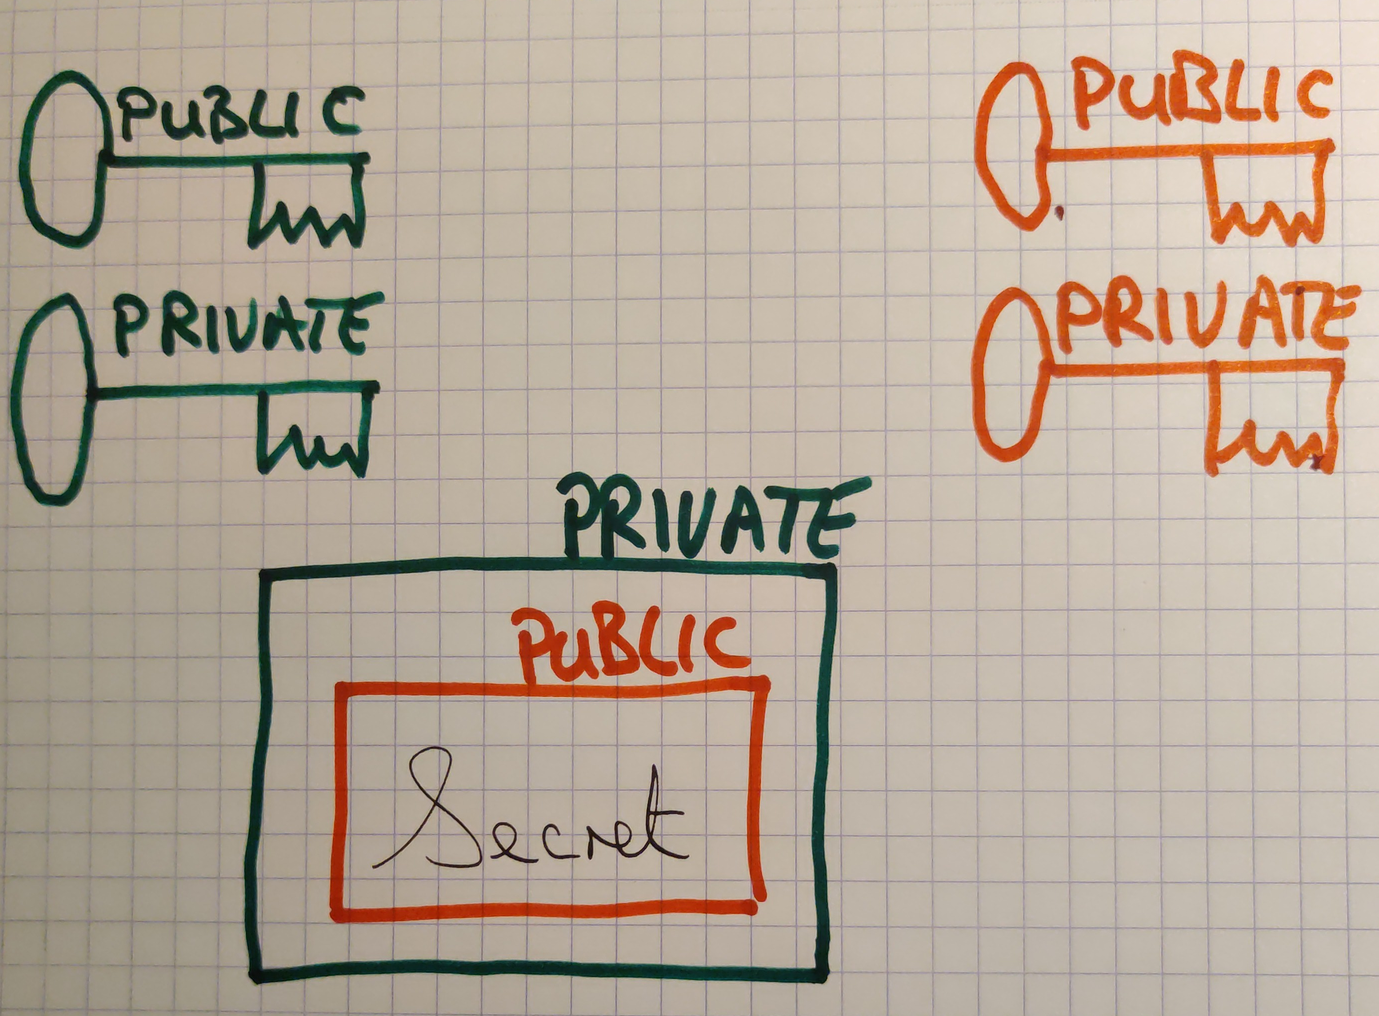
Public key encryption
- Factorization
- If you have Microsoft Windows on you laptop, install the Windows Subsystem
for Linux as follows:
- Open a
PowerShell Give the command
wsl --install
- Open a
- Follow these instructions to make a configuration file for
ssh. - Make a login for yourself on the AUC Forgejo server.
- Generate a public/private key pair with one of
Setting up your Python working environment
There are many ways to set up your Python working environment. We recommend the following approach but you can choose whichever one you like.
- Python itself comes with a large selection of Standard Libraries
- For this course, we will require some specialised libraries for Machine Learning. Some packages of libraries are available. The Anaconda distribution is one such packge.
- The most convenient modern way is to use uv
uv
To install uv:
- Open a terminal
- Windows users should be in a terminal in the Windows Subsystem for Linux (WSL).
- Mac users should open the terminal program.
- Linux users should open a terminal of choice, e.g. xterm.
- Follow the instructions at Installing uv
Virtual environments
A Python virtual environment (or venv) is a place on your laptop where you have collected a version of Python together with some libraries which you need for a project. It may be that you have several different projects for which you need different versions of Python or different collections of libraries. Having them in separate venvs means you can easily switch between them.
To make a venv for the ML course, find a place on your laptop where you want to keep it, e.g.
/home/student/projects/auc/courses/ml
In your terminal, change to that directory
cd /home/student/projects/auc/courses/ml
Make a venv using uv. Call it
ml. Tell it you want to use the most recent stable version of Python.uv venv --python 3.14 ml
Now you can enter and leave this venv as follows
$ source ml/bin/activate
(ml) $ deactivate
$
When you are in the venv you can install libraries
(ml) $ uv pip install polars
In order to work with the Spyder IDE, install the following library.
(ml) $ uv pip install spyder-kernels
The Spyder IDE
In order to write your programs you need a code editor, often referred to as an Interactive Development Environment or IDE. If you have a favourite, that's fine. If not we recommend you install the Spyder IDE.
In order to instruct Spyder to use the venv that you made,
- Open Spyder and go to Tools > Preferences.
- On the left, select Python interpreter
- Select Selected interpreter
Fill in the full path to the
pythoninterpreter in your venv, e.g./home/student/projects/auc/courses/ml/bin/python
- To check that everything is working,
- open a new file using File > New File
- In the file write
import polars as pl - Click the green triangle for Run.
In the interaction window at the bottom right you should be able to check the version of
polarsyou haveIn[1]: pl.__version__ Out[1]: "1.44.1"
- Now familiarise yourself with the Spyder IDE.
Python
The principal textbook for the course will be An Introduction to Statistical Learning by James, Witten, Hastie & Tibshirani. The full text is available from that link together with the accompanying Python library.
Machine Learning is a fast-moving field. To keep up with recent developments, we will be deviating from the book and its course materials in several ways.
- We will not use Jupyter Notebooks, preferring to write structured code and reports.
- We will emphasise the use of Polars for data manipulation over NumPy and pandas which are used in the book.
- We will emphasise the use of Seaborn and Altair for data visualization over Matplotlib which is used in the book.
Work through 2.3 Lab: Introduction to Python of the ISLP book.
Much of is should already be familiar to you. Note in particular which parts are not familiar to you so that you can discuss them in class.
Note that although the book recommends doing this in Jupyter Notebooks, we will
not use them in this course. Instead write your code in a standard Python (.py)
file, putting any remarks you might have in comments in the file.
Python recap
Here are some of my course notes on Python. We can talk through any or all of them during this and the coming classes.
Markdown
Markdown is a "simple and easy-to-use markup language you can use to format virtually any document."